
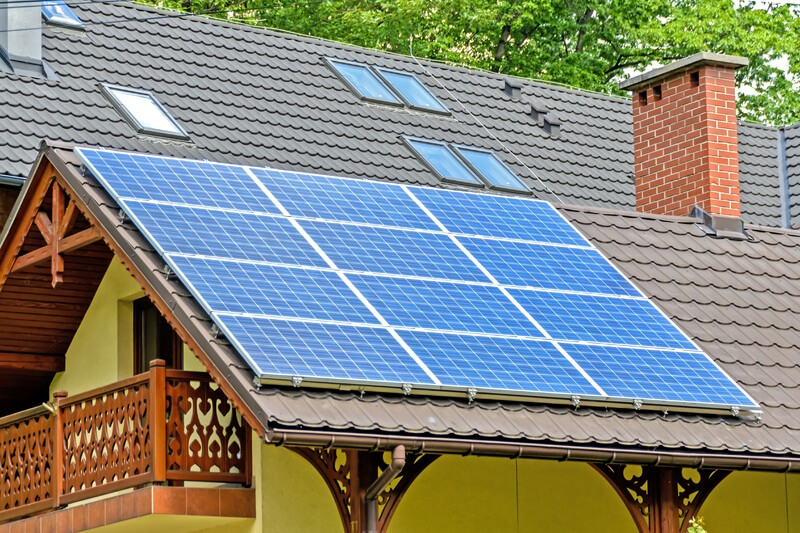
With solar energy being adopted by various stakeholders as an alternative to pollutive, conventional sources of energy, solar PV modules are becoming increasingly popular. Solar panels are the most essential component of any solar PV system. In this article, we will chart out the steps in the process of manufacturing a solar panel. It will provide the readers with a basic knowledge of how solar panels are made.

Sand is the raw material used for making any solar panel. Most solar panels in use are made of silicon, which is derived from soil. It is an abundantly available material, and in fact, the second most available element on our planet. However, the conversion of sand into high-grade silicon involves a high cost and is an energy-intensive process. Silicon with a high purity level is produced from quartz sand, by heating the latter in an arc furnace at extreme temperatures.
The silicon is collected in the form of solid rocks. A large number of these rocks are melted together at very high temperatures to extract ingots in cylindrical shapes. During the melting process, it is ensured that all atoms are perfectly aligned in the desired structure and orientation. Furthermore, boron is added to give the silicone positive electrical polarity.
There are two kinds of solar cells: monocrystalline cells and polycrystalline cells. Monocrystalline cells rank better in terms of efficiency in converting solar energy into electricity, and hence, the price of monocrystalline panels is higher than that of polycrystalline panels.
Polycrystalline cells, on the other hand, are manufactured by melting several silicon crystals together. They can be recognized by the shattered glass look given by the numerous silicon crystals.
After cooling down the ingot, grinding and polishing are performed, so that the ingot is left with flat sides.
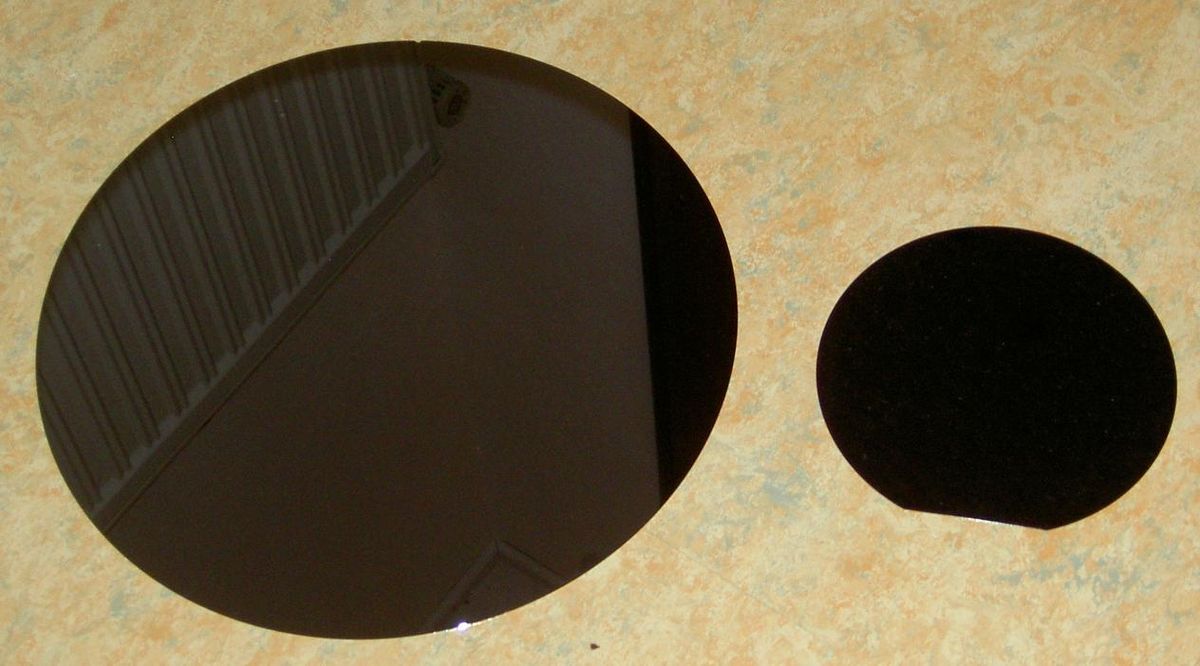
Wafers are derived by slicing the silicon ingot into thin disks. This process requires the use of a wire saw for precision cutting. A wafer is as thin as a piece of paper. However, since pure silicon is shiny, it can reflect the sunlight without absorbing any. In order to reduce the loss of sunlight, an anti-reflective coating is applied on the silicon wafer.

The wafers are then converted into solar cells capable of converting solar power into electricity. The wafers are individually treated and metal conductors are added to each of their surfaces. Because of the addition of metal conductors, the wafers get a grid-like matrix on the surface. This ensures the conversion of solar energy into electricity. Moreover, the coating also facilitates the absorption of sunlight and reduces the loss of sunlight because of reflection.
Further, phosphorus is diffused in a thin layer over the surface of the wafers inside an oven-like chamber. In this way, the surface is charged with a negative electrical orientation. The use of boron and phosphorus gives rise to the positive-negative junction, which is crucial for the proper functioning of the individual solar cells.
With the help of a laser cutting machine, solar cells are cut out. The size of a cell is determined on the basis of the wattage of the panel. This process is skipped for full cell size modules.

The stringing process is a fully automated process. Stringing involves joining the cells together to place them in a panel. A good quality panel uses a cell of size greater than 38 mm. Solar cells are joined together with the help of soldering. The upper side which faces the sun, and usually comes in a blue/black color is the negative component, while the bottom side, which is white in color, is the positive component.
Once the stringing process is complete, the machine transfers it to a section where tempered glass is applied to the panel. The tempered glass already comes with a layer of ethylene vinyl acetate (EVA).
A technical inspector examines the cells for any fault or an error in the stringing process.
In this step, a technician tapes the solar cells into a matrix alignment.
Connections between the cells are soldered together. At the same time, any excess material is cut out and removed.
The connections are then insulated by using a back sheet and EVA encapsulation. This is done in order to protect the module for dust and moisture.
The next step consists of insulating the connections by using a back sheet and EVA encapsulation. This process protects the module from any dust and moisture.
In this step, the module is checked for any dust particle, color mismatch, and so forth.
EI testing is the abbreviation for Electroluminescence testing. In this step, the solar module is scanned in an EI machine, in order to identify any dead or low power cells, short circuit cells, cracks, etc. In case the module has any such error, it is sent back for fixing the error.
The lamination process involves laminating the module at a temperature of 140 degree celsius. The laminating process approximately takes 20 minutes. Following lamination, the modules are left for 10-15 minutes to cool down. The next step is carried out only after they cool down to reach room temperature.
In this step, the excess material of the back sheet is cut and removed to offer perfectly shaped modules. Frame cutting, on the other hand, involves cutting out frames of different sizes for bordering the panels. Following this, holes are punched into the frame for mounting and grounding the panel.
Sealant is attached to the solar panel to protect it from air, dust and moisture. It also helps the module firmly attach to the frame. Once the frame is fixed to the module, the module is sent back to the framing machine, where it is punched to ensure that it is permanently attached to the frame.
Using the sealant, a junction box is firmly attached to the module. Following this, the remaining connections are soldered and are left for 10-12 hours for curing, so that the structures are fully dry and attached properly.
The solar panel is then wiped to remove all traces of dust and extra sealant. The solar module is then connected to check its output current, voltage, etc. and a test report is generated after following all the essential guidelines. A label with all the details is pasted for the benefit of the users. The module is then sent to a quality control lab to test for its insulation resistance. Finally, it is sent for a mechanical load test.
In this article, we laid down in detail the process of manufacturing a solar panel. A solar PV module might require a high initial investment, but once installed, it can run maintenance-free for years and can lead to enormous savings on energy bills. With the threat of climate change being more persistent than ever before, we encourage more people to switch to solar energy.
If you want practical setup and planning advice, go back to the solar resources hub and then keep reading how to install solar panels, solar net metering basics, solar panel cleaning tips, economic benefits of solar energy.